Welcome to the Bluedee Soundbar Manual, your comprehensive guide to setting up, operating, and maintaining your soundbar for optimal performance and enhanced audio experiences.
Overview of the Bluedee Soundbar
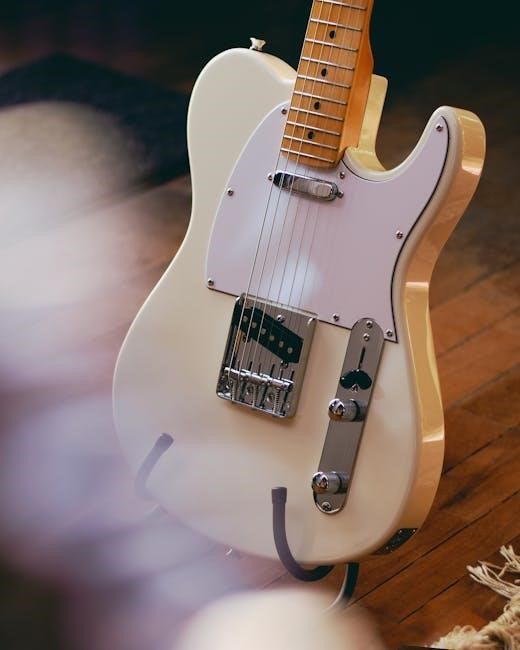
The Bluedee Soundbar is a dynamic RGB computer soundbar designed to enhance your audio experience with professional sound solutions. Available in models like SK010 and SK020, it features sleek, modern designs and advanced functionalities. Equipped with Bluetooth 5.0 and 3.5mm aux-in connections, it offers versatile compatibility with devices like PCs, laptops, and TVs. Its RGB lighting adds a stylish touch, while its compact build ensures easy placement. Perfect for gamers and home entertainment enthusiasts, it delivers immersive sound with powerful output and customizable settings.
Importance of the Manual for Optimal Performance
This manual is essential for maximizing your Bluedee Soundbar experience, providing detailed instructions for setup, operation, and troubleshooting. It ensures proper installation, helping you avoid common issues and maintain sound quality. By following the guidelines, you can customize settings, understand button functions, and prolong the product’s lifespan. The manual also offers safety precautions and maintenance tips, ensuring your soundbar performs optimally while enhancing your audio enjoyment for years to come.

Key Features of the Bluedee Soundbar
The Bluedee Soundbar offers dynamic RGB lighting, Bluetooth 5.0 connectivity, and a 3.5mm aux-in port, delivering HiFi stereo sound for an immersive audio experience.
Model Specifications (SK010, SK020, etc.)
The Bluedee Soundbar is available in models such as SK010 and SK020, each designed for optimal performance. The SK010 features Bluetooth 5.0 connectivity and a 3.5mm aux-in port, offering versatile compatibility. The SK020 is a compact, versatile soundbar delivering immersive audio with a 6W and 23W speaker configuration. Both models boast sleek designs and advanced features, ensuring enhanced sound quality and user convenience. These specifications cater to diverse user preferences, providing a tailored audio experience for home or office setups.
Dynamic RGB Lighting and Design
The Bluedee Soundbar features dynamic RGB lighting, enhancing your audio experience with vibrant, customizable visual effects. Its sleek, modern design complements any home or office décor, offering a stylish addition to your setup. The RGB lighting modes can be easily switched using the multi-function button, providing an immersive ambiance. The soundbar’s compact and versatile design ensures it fits seamlessly into various spaces, combining aesthetic appeal with powerful sound output for an enhanced sensory experience.
Sound Quality and Speaker Configuration
The Bluedee Soundbar delivers exceptional audio clarity and depth with its advanced speaker configuration. Equipped with HiFi stereo sound technology, it offers a balanced mix of bass and treble for an immersive listening experience. The speaker system, featuring 6W and 23W configurations, ensures powerful output while maintaining precision. This setup is ideal for gaming, movies, and music, providing dynamic and clear sound reproduction. The soundbar’s engineering focuses on minimizing distortion, ensuring high-quality audio performance across various formats and devices.
Unboxing and Accessories
- The Bluedee Soundbar comes with essential accessories, including the soundbar unit, USB power cable, 3.5mm audio cable, and a detailed user manual for easy setup.
- First impressions highlight a sleek, compact design, ready for immediate use and seamless integration with your devices.
What’s Included in the Box
The Bluedee Soundbar box includes the soundbar unit, USB power cable, 3.5mm audio cable, and a detailed user manual. Additional accessories may vary by model but typically include essential items for immediate setup and use. The soundbar itself features a sleek, compact design, while the manual provides step-by-step instructions for installation and operation. These components ensure comprehensive functionality and ease of use right out of the box.
First Impressions and Physical Inspection
The Bluedee Soundbar impresses with its sleek, modern design and vibrant RGB lighting, creating an appealing visual experience. Upon unboxing, the soundbar feels sturdy and well-built, with a compact footprint suitable for various spaces. The unit’s surface is smooth and fingerprint-resistant, while the RGB lights add a dynamic aesthetic. Included accessories like the USB cable and 3.5mm audio jack ensure easy setup. Initial inspection reveals a user-friendly interface with intuitive controls, making it ready for immediate use and seamless integration into your entertainment system.
Installation and Setup
Plug in the USB power cable and connect via Bluetooth 5.0 or 3.5mm audio jack. Press the knob for 3 seconds to enter Bluetooth mode and pair your device.
Connecting the Soundbar to Your Device
To connect your Bluedee Soundbar, use Bluetooth 5.0 or the 3.5mm audio jack. For Bluetooth, press the knob for 3 seconds to enter pairing mode. Ensure your device’s Bluetooth is enabled and select the soundbar from the list. For wired connections, insert the 3.5mm audio cable into your device’s headphone jack and the soundbar’s 3.5mm port. The soundbar will automatically detect the connection. Ensure proper pairing for optimal audio quality and seamless operation.
Bluetooth and Wired Connection Options
The Bluedee Soundbar offers two convenient connection options: Bluetooth 5.0 and a 3.5mm audio jack. For Bluetooth, press the knob for 3 seconds to enter pairing mode, then select the soundbar from your device’s Bluetooth list. Wired connections are straightforward—plug the 3.5mm cable into your device’s headphone jack and the soundbar’s 3.5mm port. The soundbar will automatically detect the wired connection. Both options ensure seamless audio playback, with Bluetooth offering wireless freedom and wired providing a stable link.
Powering On and Initial Configuration
To power on the Bluedee Soundbar, connect the USB power cable to a power source. The soundbar will automatically turn on. For initial setup, press and hold the multi-function button for 3 seconds to enter Bluetooth mode, indicated by flashing RGB lights. Once powered on, you can select your preferred input mode or begin pairing with devices. Ensure the soundbar is fully powered before use for optimal functionality and audio quality.

Control Functions and Button Operations
Control the Bluedee Soundbar with intuitive buttons for volume, play/pause, and mode switching. Press once for play/pause, twice for lighting modes, or hold for Bluetooth/wired switching.
Volume Control and Multi-Function Button
The Bluedee Soundbar features a convenient volume control dial. Rotate clockwise to increase volume and counterclockwise to decrease it. The multi-function button allows playback control, lighting mode switching, and connection options. Press once to pause/play, twice to cycle lighting modes, and hold for three seconds to switch between Bluetooth and wired modes. For Bluetooth, holding the button for seven seconds clears paired devices. LED indicators provide feedback for mode changes, ensuring seamless operation and customization of your audio experience.
Lighting Modes and Switching Between Modes
The Bluedee Soundbar offers dynamic RGB lighting modes, enhancing your audio experience with vibrant visuals. Press the multi-function button twice to cycle through different lighting modes, including static colors, breathing effects, and music synchronization. Customizable lighting settings allow you to tailor the ambiance to your preference. The LED indicators also provide visual feedback for mode changes, ensuring a seamless and personalized entertainment experience. This feature adds an extra layer of enjoyment, making the soundbar a stylish addition to your setup.
Pairing and Connecting Devices
To pair your device with the Bluedee Soundbar, enable Bluetooth and select the soundbar from the available devices. For wired connections, use the 3.5mm audio cable. Press and hold the multi-function button for 3 seconds to switch between Bluetooth and wired modes. The LED indicator will flash during pairing and stabilize once connected. This seamless process ensures quick and easy connectivity, allowing you to enjoy high-quality audio from your preferred devices effortlessly.

Maintenance and Care
Regularly clean the soundbar with a dry, soft cloth to avoid dust buildup. Store it in a dry, shaded area when not in use to prevent damage.
Cleaning the Soundbar
Regular cleaning is essential to maintain the soundbar’s performance and appearance; Use a dry, soft cotton cloth to gently wipe the unit, avoiding harsh chemicals or detergents. Never insert objects into the soundbar or expose it to moisture. For stubborn stains, dampen the cloth slightly but ensure it is not soaking wet. Avoid touching the speakers directly to prevent damage. Clean the soundbar after extended use or before storage to maintain its quality and longevity. This simple maintenance ensures optimal sound quality and durability.
Storage and Placement Recommendations
For optimal performance and longevity, store the soundbar in a dry, shaded area when not in use. Avoid placing it near direct sunlight or heat sources, as this can damage the components. Ensure the soundbar is placed on a stable, flat surface away from sharp objects to prevent scratches. Keep it at least 10 cm away from walls to allow proper airflow. If storing, disconnect all cables and place it in its original packaging. Proper placement and storage ensure the soundbar remains in pristine condition and functions efficiently when needed.
Avoiding Damage and Safety Precautions
To prevent damage, avoid placing the soundbar near heat sources or direct sunlight. Only use it indoors and keep it away from sharp objects to avoid scratches. Never clean with detergents or chemicals; use a dry, soft cloth instead. Avoid inserting foreign objects into the soundbar. Ensure proper airflow by keeping it at least 10 cm away from walls. Following these precautions ensures longevity and optimal performance of your Bluedee soundbar.
Troubleshooting Common Issues
Address Bluetooth connectivity problems by resetting the soundbar or clearing paired devices. For sound distortion, ensure proper connections and check volume levels. Resetting often resolves issues.
Bluetooth Connectivity Problems
If your Bluedee Soundbar experiences Bluetooth issues, restart both the soundbar and the connected device. Ensure they are within range and no obstacles are blocking the signal. Clear paired devices by holding the multi-function button for 7 seconds in Bluetooth mode. Reset the soundbar to factory settings if problems persist. Check for firmware updates and ensure your device supports Bluetooth 5.0 for optimal performance.
Sound Distortion or No Sound Output
If experiencing sound distortion or no output, ensure all connections are secure and properly plugged in. Check the volume level on both the soundbar and connected device. Restart the soundbar and device to reset the connection. Adjust the equalizer settings if available. If issues persist, reset the soundbar to factory settings by holding the multi-function button for 7 seconds. Ensure no obstructions block the speakers and verify that the correct input mode is selected. Consult the manual for further troubleshooting steps.
Resetting the Soundbar
To reset the Bluedee Soundbar, press and hold the multi-function button for 7 seconds until a beep sounds and the lights flash. This restores the soundbar to its factory settings, clearing all paired devices and customized configurations. After resetting, power cycle the soundbar by turning it off and on again. Re-pair your devices and adjust settings as needed to resume normal operation. This process helps resolve persistent issues and ensures optimal performance.

Technical Specifications
The Bluedee Soundbar features 6W to 23W speaker configurations, Bluetooth 5.0 connectivity, and a 3.5mm audio input. It operates via USB power supply.
Power Supply and Compatibility
The Bluedee Soundbar is powered via a USB cable, ensuring easy connection to any standard USB port. It is compatible with a wide range of devices, including PCs, laptops, tablets, and smartphones. The soundbar supports both wired and wireless connections, making it versatile for various setups. Its low power consumption ensures efficient operation, and the USB power supply provides a reliable energy source for consistent performance across different devices and environments.
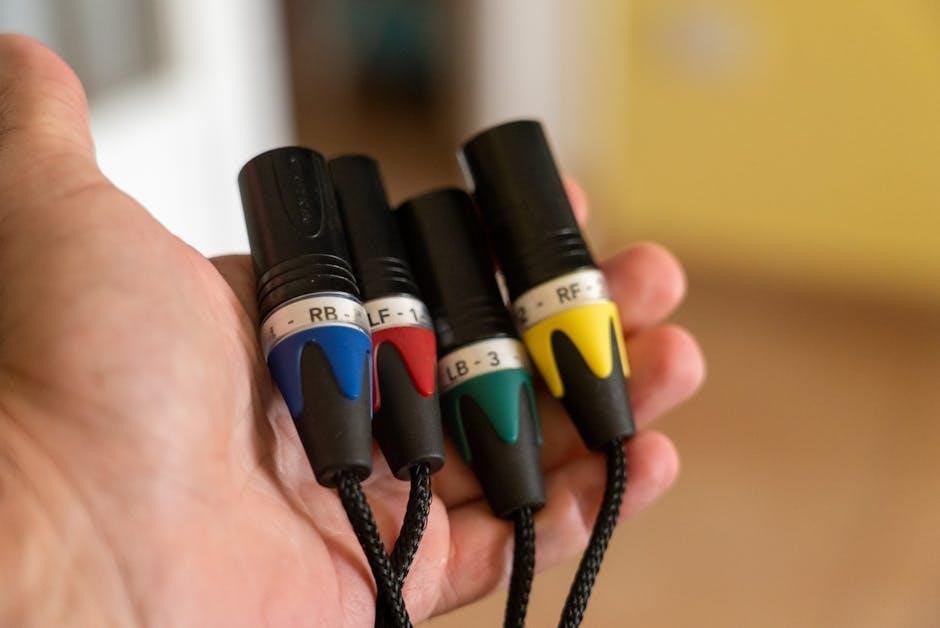
Audio Input and Output Options
The Bluedee Soundbar offers multiple audio input options, including Bluetooth 5.0 for wireless connectivity and a 3.5mm auxiliary input for wired connections. It also features a USB power plug and a 3.5mm earphone jack, enhancing versatility. The soundbar supports high-quality audio transmission, ensuring clear and immersive sound. With these options, users can seamlessly connect to various devices, such as computers, smartphones, and tablets, making it adaptable to different listening environments and preferences for optimal audio performance.
Dimensions and Weight
The Bluedee Soundbar is designed to be compact and lightweight, making it easy to place in various settings. The SK300 model measures 16 inches in length, ideal for small spaces. Weighing approximately 2 pounds, it is lightweight yet durable, ensuring stability and portability. These dimensions allow it to fit seamlessly under monitors or on shelves, complementing any home or office décor without occupying too much space, while its weight ensures easy relocation and placement according to user preference.

Safety Instructions
Never place the soundbar near heat sources or sharp objects. Use indoors only, avoiding exposure to moisture. Handle electrical components with care and avoid cleaning with chemicals.
General Safety Precautions
To ensure safe operation of your Bluedee Soundbar:
- Avoid placing the soundbar near heat sources or open flames.
- Keep it away from sharp objects to prevent scratches or damage.
- Use the soundbar indoors only and avoid exposure to moisture.
- Do not clean with detergents or chemicals; use a dry, soft cloth instead.
- Never insert objects into the soundbar’s openings to prevent internal damage.
Adhere to these guidelines for optimal performance and longevity of your device.
Environmental Considerations
Adopt eco-friendly practices when using your Bluedee Soundbar. Dispose of packaging materials responsibly and recycle whenever possible. To reduce environmental impact, ensure proper disposal of the soundbar at the end of its lifecycle through approved recycling programs. Avoid exposing the device to extreme temperatures or moisture, as this can harm both the product and the environment. By following these guidelines, you contribute to sustainable electronics use and environmental conservation.
Handling Electrical Components
Handle electrical components of the Bluedee Soundbar with care to ensure safety and longevity. Avoid exposing the device to moisture or extreme temperatures, as this can damage internal electronics. Never insert foreign objects into ports or openings, as this may cause permanent harm. Use only the provided or approved power cables and accessories to prevent electrical issues. If a component becomes damaged, disconnect power immediately and contact Bluedee support. Properly dispose of batteries and electrical waste through designated recycling programs to minimize environmental impact.
User Manual Guide
Welcome to the Bluedee Soundbar Manual! This guide provides comprehensive instructions for easy setup, troubleshooting, and exploring advanced features to enhance your audio experience seamlessly.
Navigating the Manual for Easy Reference
This manual is designed to help you navigate effortlessly through the features, setup, and maintenance of your Bluedee Soundbar. The table of contents provides quick access to key sections, while clear headings and subheadings guide you to specific information. Detailed diagrams and illustrations support the text, ensuring clarity. Troubleshooting and maintenance sections are highlighted for easy reference, helping you resolve issues swiftly. Use the index to locate topics instantly, and refer to the visual guides for hands-on assistance. This manual is your one-stop resource for optimizing your soundbar experience.
Understanding Diagrams and Illustrations
The manual includes detailed diagrams and illustrations to help you understand your Bluedee Soundbar’s components and features; These visuals provide clear representations of the soundbar’s design, highlighting key elements like buttons, ports, and LED indicators. Diagrams also guide you through connections, such as Bluetooth pairing and wired setups. Illustrations of the multi-function button and RGB lighting modes ensure you can easily navigate controls. Refer to these visuals for a clearer understanding of your soundbar’s layout and functionality, enhancing your overall user experience.
Advanced Features and Customization
The Bluedee Soundbar offers advanced features for a personalized experience. Customize RGB lighting modes to match your ambiance, with options to switch between vibrant colors and effects. Utilize equalizer settings to tailor sound quality for movies, music, or gaming. Bluetooth 5.0 enables seamless connectivity, while wired options ensure stable audio transmission. Explore multi-function button shortcuts to control playback, lighting, and device pairing effortlessly. These features allow you to enhance your audio setup and create a unique entertainment environment tailored to your preferences.

Customer Support and Warranty
For inquiries, contact Bluedee Customer Service at support@bluedee-tech.com. Warranty details and online FAQs are available for troubleshooting and product support.
Contacting Bluedee Customer Service
For assistance, contact Bluedee Customer Service at support@bluedee-tech.com. Their team is available to address inquiries, provide troubleshooting guidance, and assist with warranty claims. Ensure to include your product model (e.g., SK010 or SK020) and a detailed description of your issue for expedited support. Visit their official website for additional resources, FAQs, and contact information to resolve any concerns promptly and effectively.
Warranty Information and Claims
Your Bluedee Soundbar is backed by a limited warranty provided by Shenzhen Hanke Technology Co., Ltd. The warranty covers manufacturing defects for a specified period. To file a claim, contact Bluedee Customer Service via email at support@bluedee-tech.com and provide proof of purchase and product serial number. Warranty claims are processed promptly, ensuring your soundbar performs optimally. For details, refer to the warranty section in your manual or visit the official Bluedee website.
Online Resources and FAQs
For additional support, visit the Bluedee official website, where you can find detailed product manuals, troubleshooting guides, and FAQs. Access PDF manuals for models like SK010 and SK020, along with setup tutorials and compatibility information. The website also offers a support section with contact details for customer service. Utilize these resources to address common issues, understand advanced features, and ensure optimal performance of your Bluedee Soundbar.